Let's be real. In manufacturing and supply, getting the physical properties of your materials right is fundamental to the quality of your final product. For that, you need to measure hardness, and there's a pocket-sized gadget for the job that is, frankly, an absolute hero in any quality process.
What is Durometer?
A durometer is a handheld gadget that you press against a material—like a polymer or rubber—to see how much it fights back against getting a dent. That "fight" is what we call its hardness.
It spits out a score from 0 to 100. A super low score means the material is ridiculously squishy. A super high score means it’s tough as nails. We genuinely believe that getting a handle on this simple idea is one of the most practical things a professional can do for their quality control.
Related article: How to Calibrate a Durometer: Avoid Costly Errors
Durometer Hardness Scale
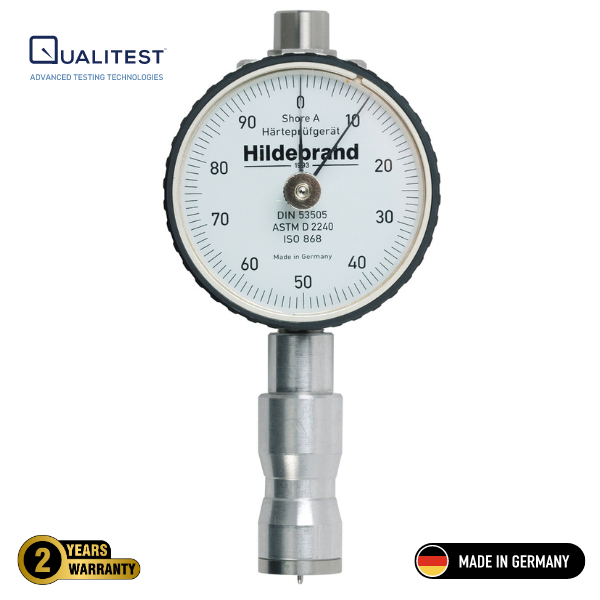
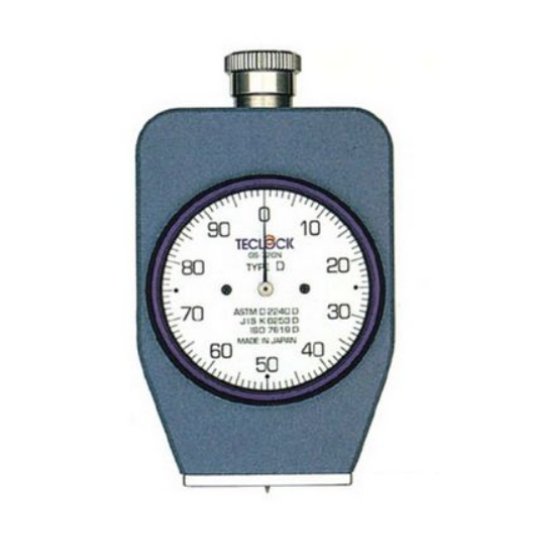
You’ll mostly hear about two main scoring systems, or "scales": Shore A and Shore D.
- Shore A is the designated scale for soft and flexible materials.
- Shore D is used for rigid materials.
For the detailed explanation, you can check our separate article → Durometer Hardness Scale: A Complete Guide
Shore Hardness vs. Durometer
These two terms are often used as if they are the same thing, but there is a technical difference. We find the clearest way to explain it is this:
- Shore Hardness is the measurement value you get (e.g., "70A").
- The Durometer is the instrument you use to get that value.
Using these terms correctly ensures clear communication within your team and with suppliers, which we see as a critical part of an efficient quality process.
Read more: Shore Hardness vs. Durometer: Complete Explanation
How to Use a Durometer
There's more to getting a good result than just pressing the tool against a surface. Proper technique is what separates a reliable reading from a useless one.
The core technique is simple: position the instrument perfectly straight, apply firm and steady pressure onto a flat, thick sample, and read the score without delay. We always tell our clients to average several readings to get a result they can truly trust.
For a full, detailed breakdown of the process, we have a separate guide on that → How to Use a Durometer in a Few Easy Steps
Analog vs. Digital Durometers: Which Is Right for You?
Okay, this is where you have to make a choice for your business: do you go with the old-school analog model or the slick digital one? We have opinions.
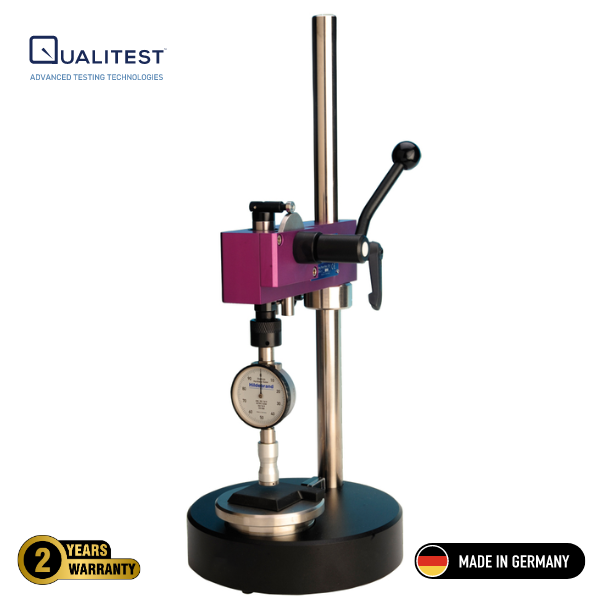
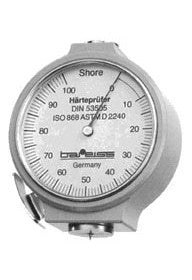
Analog Durometers
This is your classic, dial-faced instrument. And honestly? We still have a ton of respect for them. These things are tanks. You could probably drop one on the shop floor, pick it up, and it would still give you a solid reading. There are no batteries to die, no screens to crack, no nonsense.
Our take: For quick spot-checks and general use in rugged environments, the reliability and cost-effectiveness of an analog durometer are very attractive.
Digital Durometers
These instruments provide a precise reading on an LCD screen. In our view, digital models offer a clear advantage in readability, which greatly reduces the chance of human error. They frequently come with valuable features like memory hold and data output for traceability.
Our take: For quality control labs and any application where a high degree of precision and data logging are necessary for compliance, a digital durometer is the clear choice.
Read more: Digital vs Analog Durometer: Which to Choose?
Let Qualitest Equip You
So, the durometer isn't some overly complex piece of lab equipment. It’s a practical, must-have tool for making sure your materials are exactly as hard or soft as your specs demand. And a team that can use one correctly is a team that takes quality seriously.
Now you know the deal. Whether you're on Team Analog or Team Digital, the real goal is getting an instrument that gives you a number you can trust, without blowing your budget.
At Qualitest, we have a whole pile of cost-effective options that do just that. We can talk you through what you're testing and help you pick out the perfect tool for your quality process.