A durometer that isn't regularly calibrated is an instrument providing questionable data.
From our position at Qualitest, we see firsthand that this uncertainty is a significant liability. It introduces risk into your supply chain, your production floor, and your customer relationships. There are few things more damaging than a quality control measurement you can't trust.
A properly verified durometer, on the other hand, tells a different story. Every reading it provides is solid and dependable, giving you confidence that your material meets every specification. That level of assurance is invaluable.
This guide will show you how to calibrate a Shore durometer so it provides numbers you can stand behind. We'll walk through the complete process, sharing insights we've gained from helping countless partners master the fundamentals of how to calibrate a durometer.
Why Consistent Calibration is a Business Imperative
Before we cover the steps, let's explore why this process is so critical. From our experience, consistent calibration is a fundamental activity that protects your operations. A key part of this is understanding not just the why, but also how to calibrate a durometer as a preventative measure.
Maintaining Industry Standards and Customer Trust
Adhering to standards like ASTM D2240 is often a non-negotiable part of doing business. It’s a clear signal to your customers that you are a reliable partner who manages your processes with diligence. Knowing how to calibrate a Shore durometer to these standards is a mark of professionalism.
Preventing Costly and Compounding Errors
An uncalibrated durometer can approve a batch of material that is even slightly out of specification. This single error triggers a cascade of costs. The small investment of time it takes to properly calibrate a durometer is minimal compared to the significant operational issues a bad batch can cause.
Ensuring Production Consistency Across the Board
In a manufacturing setting, consistency is the foundation of efficiency. Proper calibration ensures that a Shore 70A material measured by a first-shift operator is the same as one measured by a second-shift operator. Achieving this reliable consistency is the primary goal of the testing solutions we provide at Qualitest.
How to Calibrate a Shore Durometer: The Step-by-Step Process
Getting your durometer to provide accurate readings involves checking it against standards that have a known, true hardness value. This process systematically realigns it, and it's the foundation of knowing how to calibrate a Shore durometer correctly.
1. Begin with a Thorough Physical Inspection
We always advise starting with a simple but careful visual check. This is the first step in how to calibrate a durometer. Examine the indenter pin under good light; even a microscopic flat spot can cause inaccurate readings. While instruments like our HPE III Series are built to withstand industrial environments, this universal check is still a vital best practice. Ensure the presser foot is perfectly clean, as any debris can create an angled measurement.
2. Utilize Standardized Test Blocks for Verification
The core of a successful calibration, and a critical step in learning how to calibrate a Shore durometer, is using a set of certified test blocks. These are your known quantities.
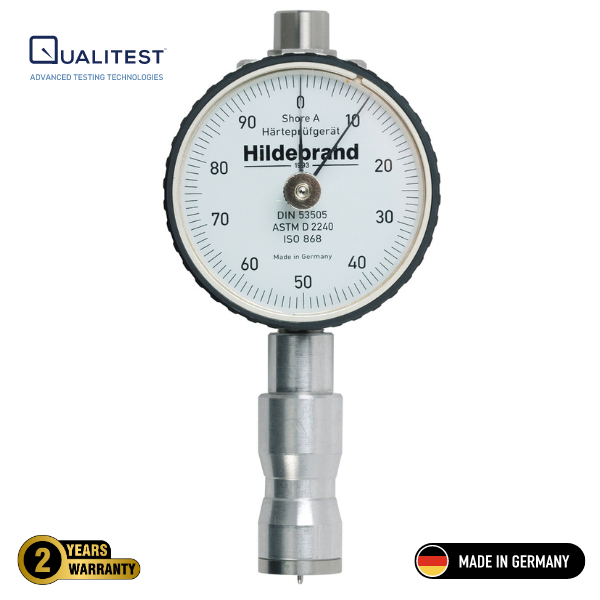
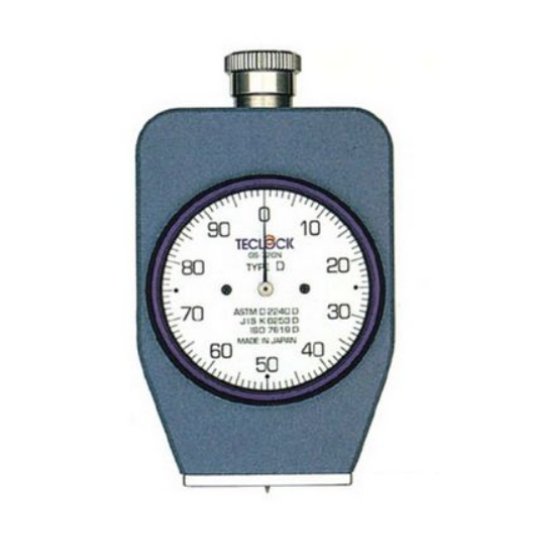
- Select the Correct Blocks for the Application: A proper Test Block Kit should have at least three blocks covering the low, middle, and high portions of the scale. You must match the blocks to the tool; a Shore A Durometer requires Shore A blocks, and a Shore D Durometer needs Shore D blocks.
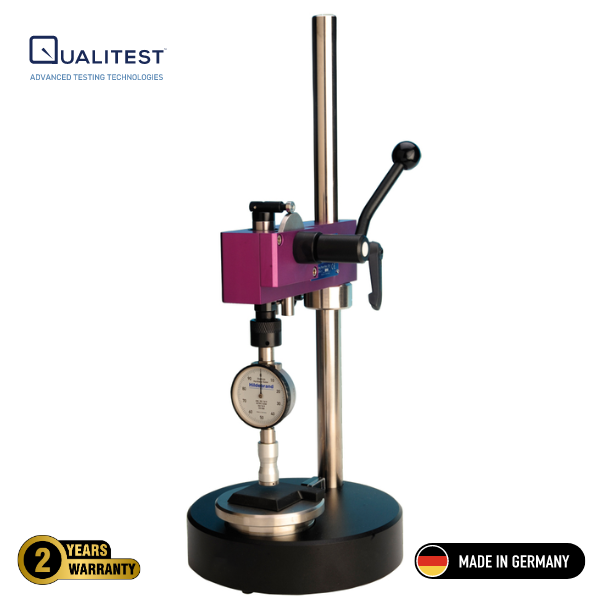
- Take Multiple, Careful Readings: Place the durometer on the test block so it’s sitting perfectly flat. Apply firm, steady pressure straight down. While handheld testing is an option, we have consistently found that using a Durometer Test Stand is the most effective method. This is why we pair our durometers with precision-engineered test stands—to create a system that delivers the highest possible accuracy when you calibrate a durometer.
3. Address Deviations and Establish a Clear Schedule
If your average readings fall outside the acceptable tolerance, your durometer needs attention. This is a critical outcome in the process of how to calibrate a durometer that signals a need for professional service. Document the failure in a calibration log. If you're ever unsure, the support team at Qualitest can help guide you on the appropriate next steps.
Common Pitfalls in the Calibration Process
From our work, we have identified several common missteps that can compromise accuracy. These pitfalls often derail the entire effort of trying to figure out how to calibrate a durometer properly.
- Using Incorrect or Damaged Test Blocks: A test block is a precision instrument. Using expired or scratched blocks can mean you are adjusting your instrument to an incorrect standard. Sourcing your Test Block Kits from a reputable supplier is a crucial step for anyone who needs to calibrate a Shore durometer.
- Improper Operator Technique: Rushing the process is a primary source of error. The speed of application matters, and this human element is a major hurdle when learning how to calibrate a Shore durometer by hand. It’s the primary reason we so strongly advocate for a complete system that includes a Durometer Test Stand.
- Ignoring Environmental Conditions: The physical properties of polymers change with temperature. To get repeatable numbers, you must ensure your calibration and testing environments are the same.
Ensure Total Reliability with Qualitest
Knowing how to calibrate a durometer is an essential skill for any team serious about product quality. This procedure is not an administrative burden; it is an active part of your risk management program. Understanding the details of how to calibrate a Shore durometer guarantees your hardness measurements are accurate and compliant.
At Qualitest, our focus is on being a partner in your quality process, not just a supplier. We are dedicated to providing a full range of high-quality, cost-effective durometers and testing instruments.
If you are looking to improve the reliability of your quality control processes, please review our offerings. We are here to help you achieve a higher degree of precision and confidence in your day-to-day operations.